
Article
How to install Oh My Zsh on macOS, Linux and Windows, and the plugins worth using
Published on
In this post we will show you how to install Oh My ZSH in your terminal and start enjoying a better experience, especially if, like us, you use it for many hours every day.
What is Oh My ZSH?
Oh My ZSH is a super-pack of utilities, plugins and templates for the ZSH shell that lets you have a great terminal full of useful extras.
What is a terminal or console?
If you have ever used a terminal console, you will have noticed how boring it looks.
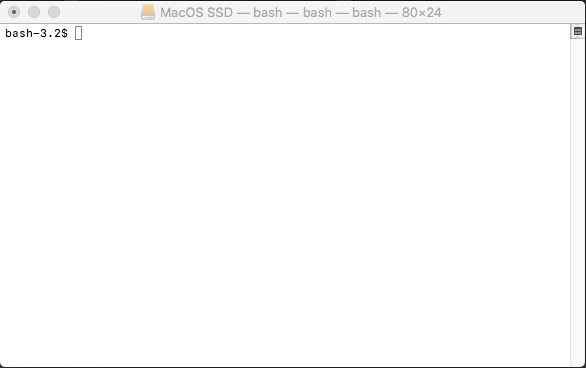
That is fine for occasional use, but when we start using our console every day we begin to miss a few features...
What is a Shell?
A shell is a set of instructions and commands that lets us work with our console.
ls -l
dir
Installing ZSH
Before installing Oh My ZSH, we need to have the ZSH shell installed:
Debian/Ubuntu and derivatives
sudo apt-get install git zsh
CentOS and derivatives
sudo yum install git zsh
Mac OS
brew install git zsh
Windows
On Windows you must install the Bash console first. Then follow the Ubuntu steps.
Setting ZSH as the default console
chsh -s $(which zsh)
usermod -s $(which zsh) $(whoami)
Installing Oh My ZSH
Install using curl
sh -c "$(curl -fsSL https://raw.githubusercontent.com/robbyrussell/oh-my-zsh/master/tools/install.sh)"
Install using wget
sh -c "$(wget https://raw.githubusercontent.com/robbyrussell/oh-my-zsh/master/tools/install.sh -O -)"
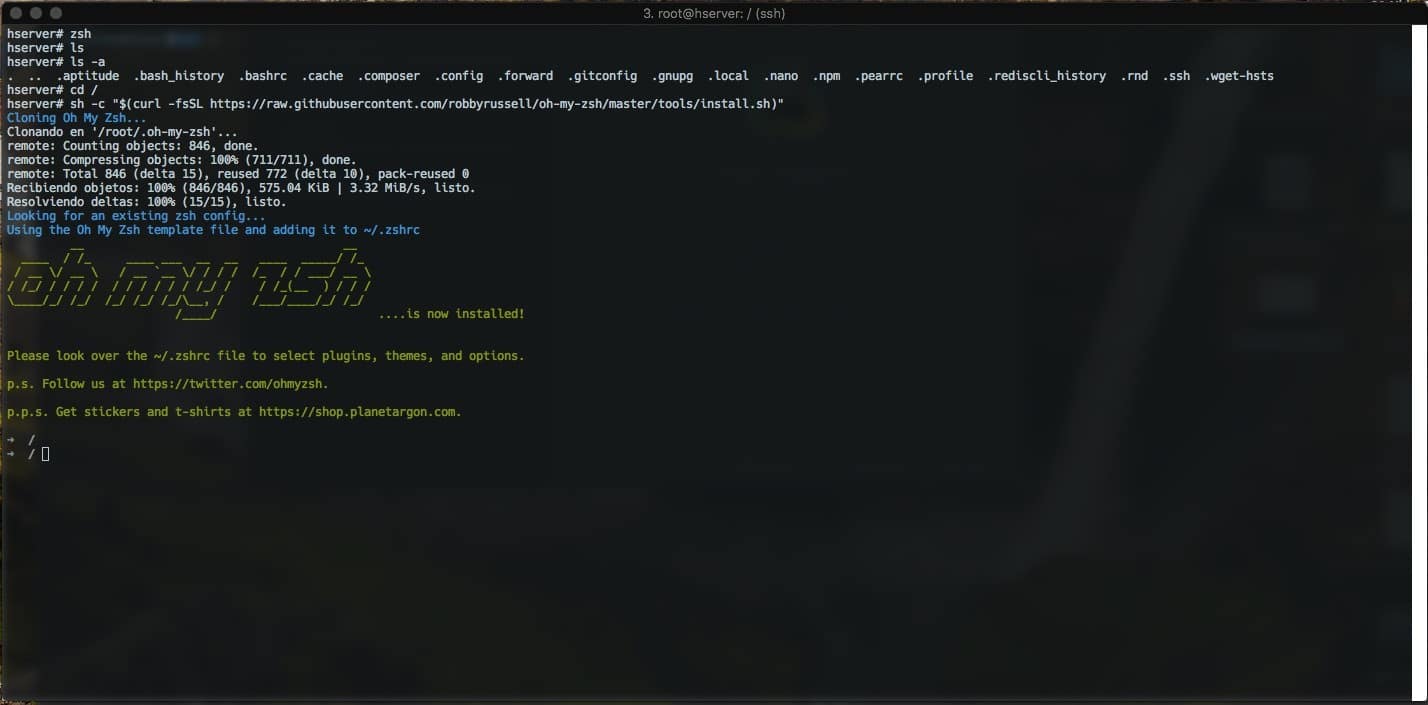
Tweaking our Oh My ZSH
Theme
Edit the ~/.zshrc file and change ZSH_THEME:
# If you come from bash you might have to change your $PATH. # export PATH=$HOME/bin:/usr/local/bin:$PATH # Path to your oh-my-zsh installation. export ZSH=/root/.oh-my-zsh ZSH_THEME="agnoster"
Antigen Plugin Manager
Debian/Ubuntu
apt-get install zsh-antigen
CentOS
git clone https://github.com/zsh-users/antigen.git $ZSH_CUSTOM/plugins/antigen
Mac OS
brew install antigen
Add this to the ~/.zshrc file:
source ${ZSH_CUSTOM:-~/.oh-my-zsh/custom}/plugins/antigen/antigen.zsh
zsh-syntax-highlighting plugin
Debian/Ubuntu
apt-get install zsh-syntax-highlighting
CentOS
git clone https://github.com/zsh-users/zsh-syntax-highlighting.git $ZSH_CUSTOM/plugins/zsh-syntax-highlighting
Mac OS
brew install zsh-syntax-highlighting
Include the plugin in ~/.zshrc:
plugins=( git zsh-syntax-highlighting ) source $ZSH/oh-my-zsh.sh
zsh-autosuggestions plugin
Manual installation
git clone https://github.com/zsh-users/zsh-autosuggestions $ZSH_CUSTOM/plugins/zsh-autosuggestions
Then add this to ~/.zshrc after the previous plugin:
plugins=( git zsh-syntax-highlighting zsh-autosuggestions )
Mac OS
brew install zsh-autosuggestions
Add this to ~/.zshrc:
source /usr/local/share/zsh-autosuggestions/zsh-autosuggestions.zsh
Other settings
Remove username
# Remove user prompt_context() { if [[ "$USER" != "$DEFAULT_USER" || -n "$SSH_CLIENT" ]]; then prompt_segment black default "%(!.%{%F{yellow}%}.)$USER" fi }